Advanced Targeting and Measurement
With LA Attack Targeting (enableAttackTargeting) on, the attack HUD gains a picker for choosing your target or placing your area straight from the accuracy/difficulty dialog. Whatever you pick becomes a normal Foundry target the roll reads as usual, and it stays targeted after the roll unless Clear Targets After Roll (clearTargetsAfterRoll) is on, which it is not by default.
Separately, a standalone measure toolbar (Shift+R) puts the same shapes, marks, and range readouts on the canvas any time - see Advanced Measure tool below.
Settings
Combat & Movement → Targeting holds LA Attack Targeting (enableAttackTargeting), Auto-Start Target Picking (autoStartTargetPicking) to open the picker the moment an attack starts with no target set, and Clear Targets After Roll (clearTargetsAfterRoll, off by default). LA Damage Targeting (enableDamageTargeting) puts the same picker on the damage HUD, hold Shift for multiple.
Ruler & Measures → Advanced Measure holds Select Target cursor (targetToolCursor) and Measure cursor (rulerToolCursor), which swap the cursor and play a sound while those tools are active.
The targeting buttons
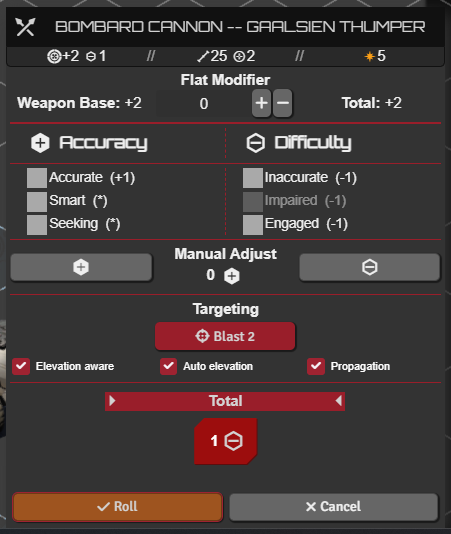
When the attack HUD opens, a targeting button joins its range row. A simple-range weapon gets a Range N button, a melee weapon gets Threat N, a tech attack gets Sensors N, and an area-of-effect (AoE) weapon gets one button per pattern, Blast / Burst / Cone / Line, in place of the system's template buttons, with an Elevation aware / Auto elevation / Propagation toggle row below them (plus Line of sight when range pulse LOS is on).
A weapon that has both a Range and a Threat, and whose two values differ, also gets a swap arrow beside the button to flip the label between them.
Click a button to start picking, click it again (or Esc) to stop.
Single-target picking
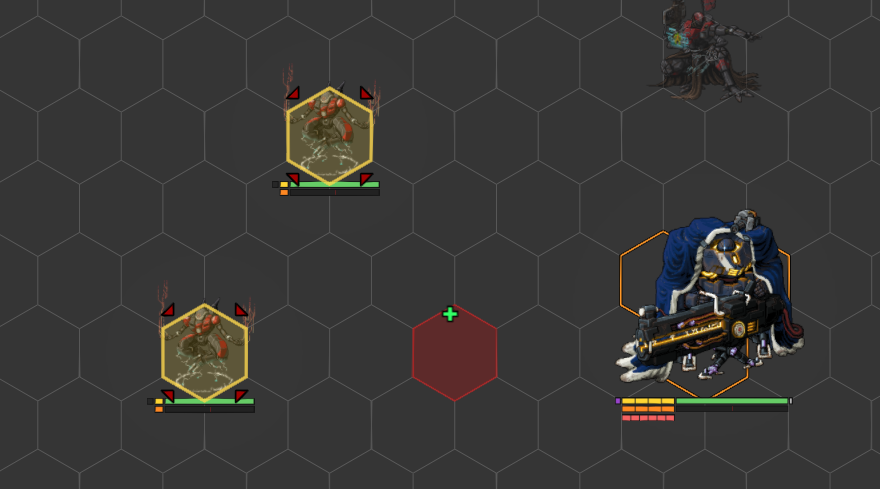
There is no range gate: the button's range is only a label. The cursor highlights what's under it: blue over a token, red over empty ground. Click a token to target it, and hold Shift to keep targeting more. Esc or a re-click ends it.
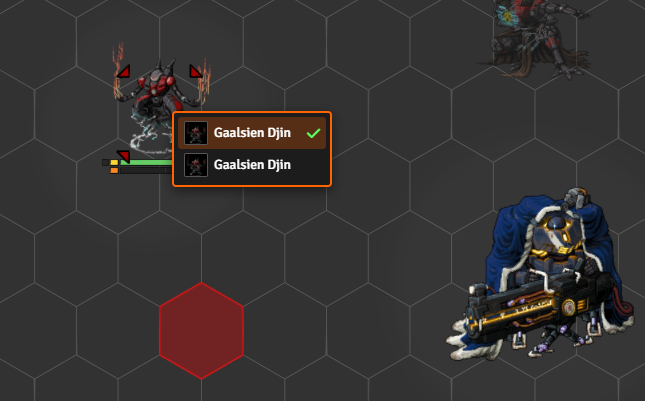
Where tokens overlap, a small picker lists them to choose from.
Hit chance and damage
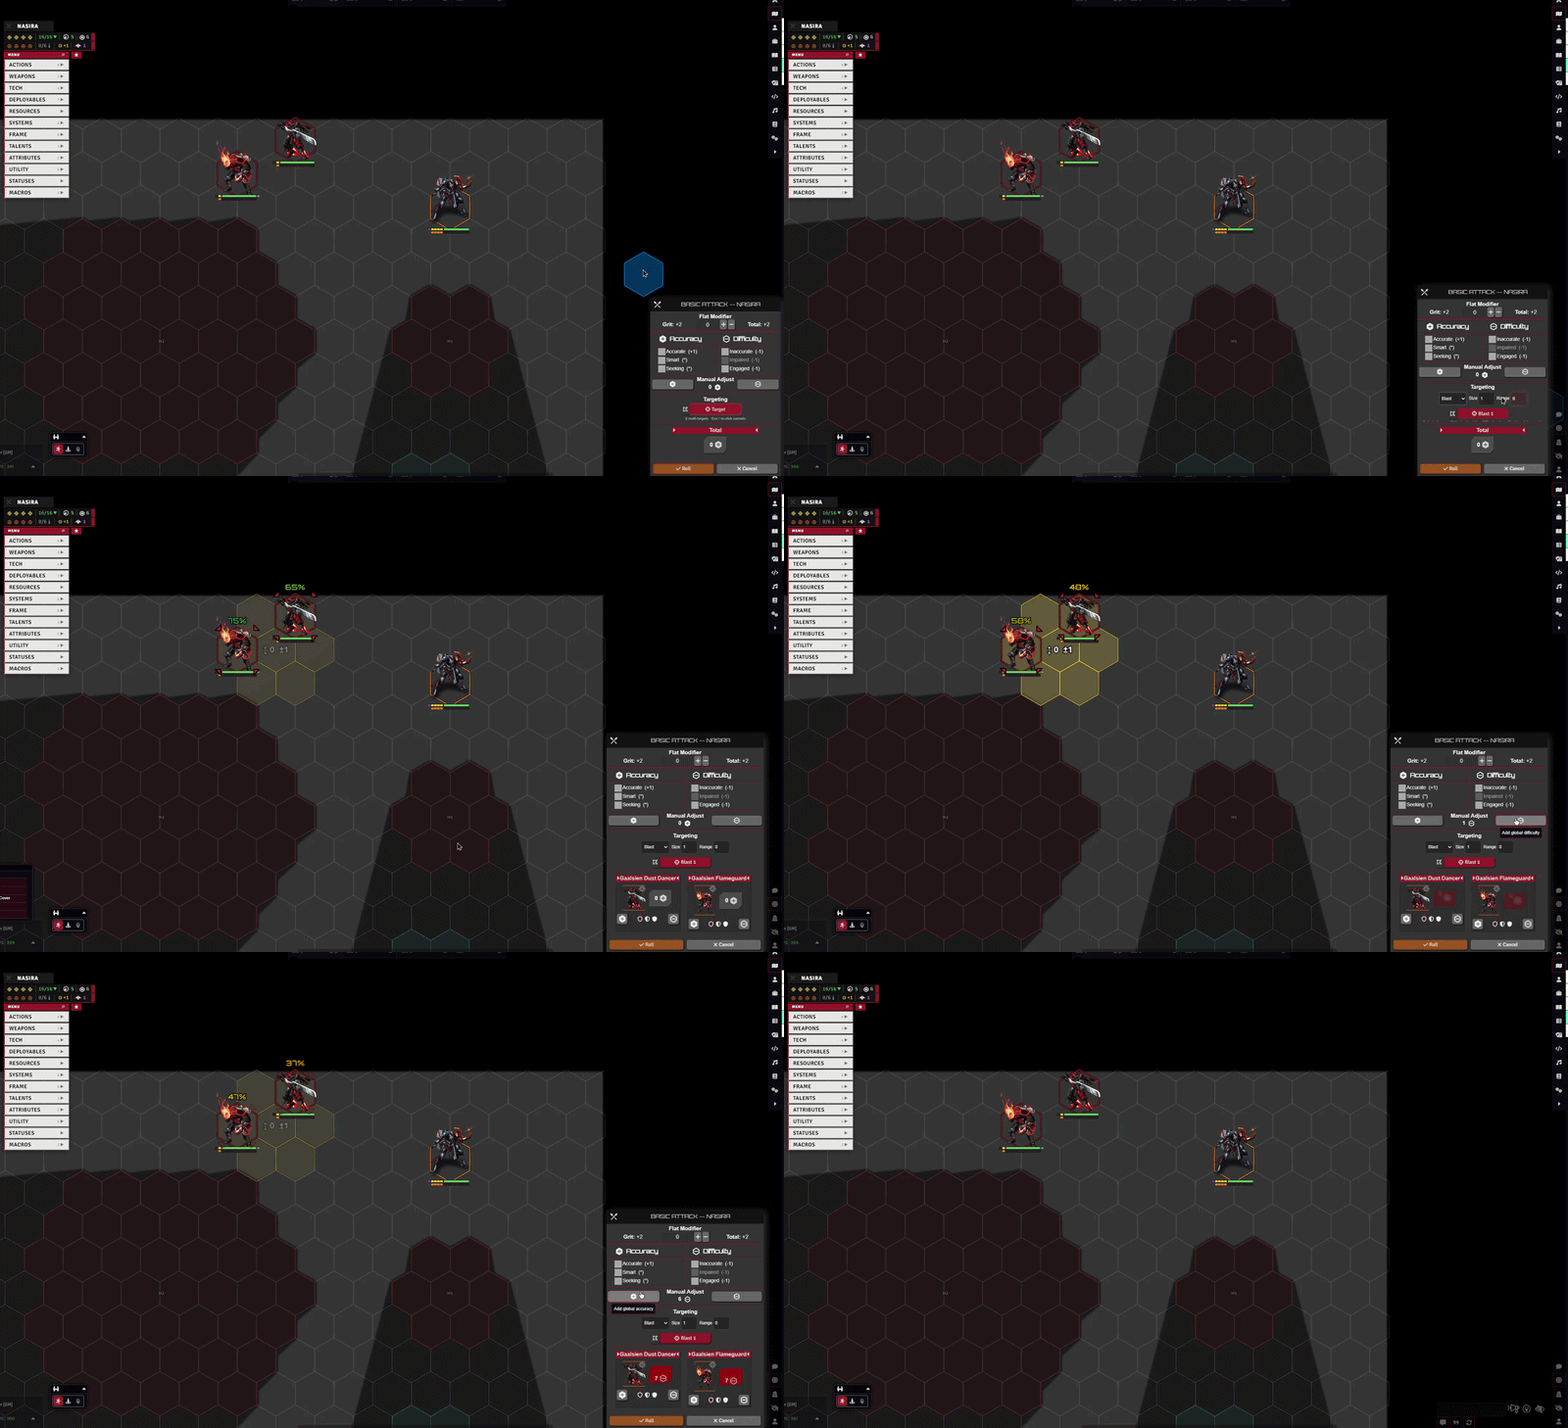
Each targeted token gets a live hit chance and damage range label. targetInfoDisplay sets who sees them: No, GM only (default), or GM and players.
Throwing
| Throwing | Landing |
|---|---|
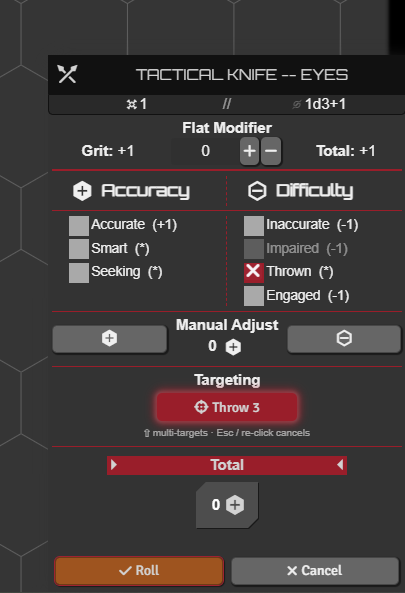
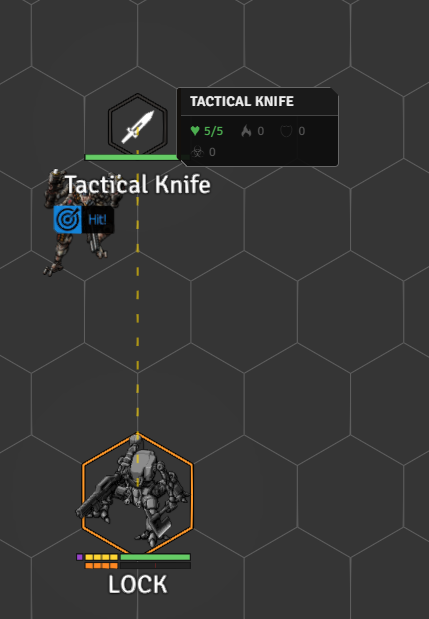
| Tick a throwable weapon's Thrown box in the HUD and the button becomes Throw N, previewing the throw distance in place of the melee reach. Clear it to go back to the weapon's normal range. A weapon whose box is ticked but carries no Thrown tag keeps its normal range. | Rolling the attack then lands the weapon on the field as a token and disables it on the sheet until you pick it back up. With enableThrowFlow on, attacking a throwable weapon first asks whether to attack with it or throw it. |
 |
 |
Area templates
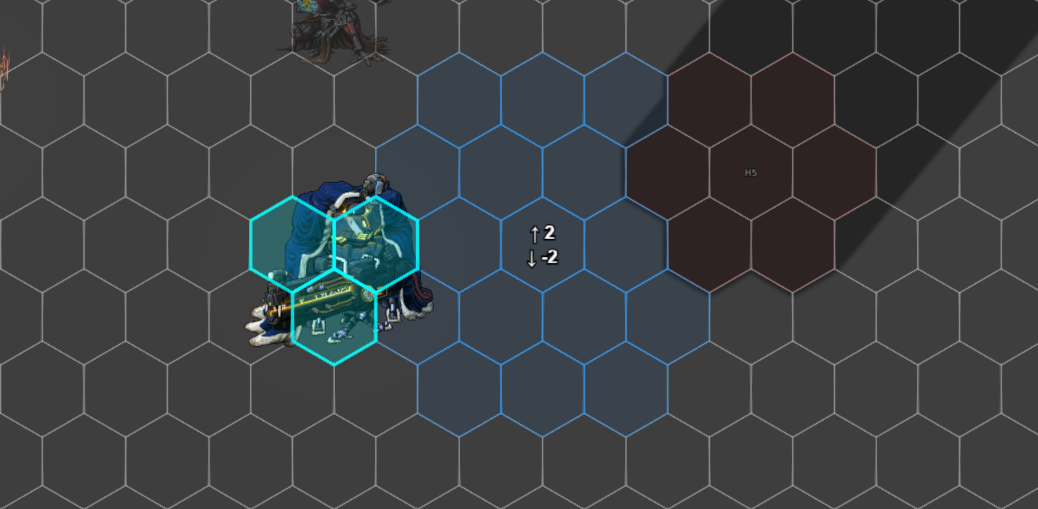
Placing a template catches every token inside it as a target. Blast drops a disk on the hovered cell, Burst centers on the token under the cursor, and Cone and Line aim from the cursor and rotate with Ctrl + mouse-wheel (a line also tilts into a slope). Hold Shift while placing to stack more shapes onto the same target set.
Elevation, auto-elevation, propagation
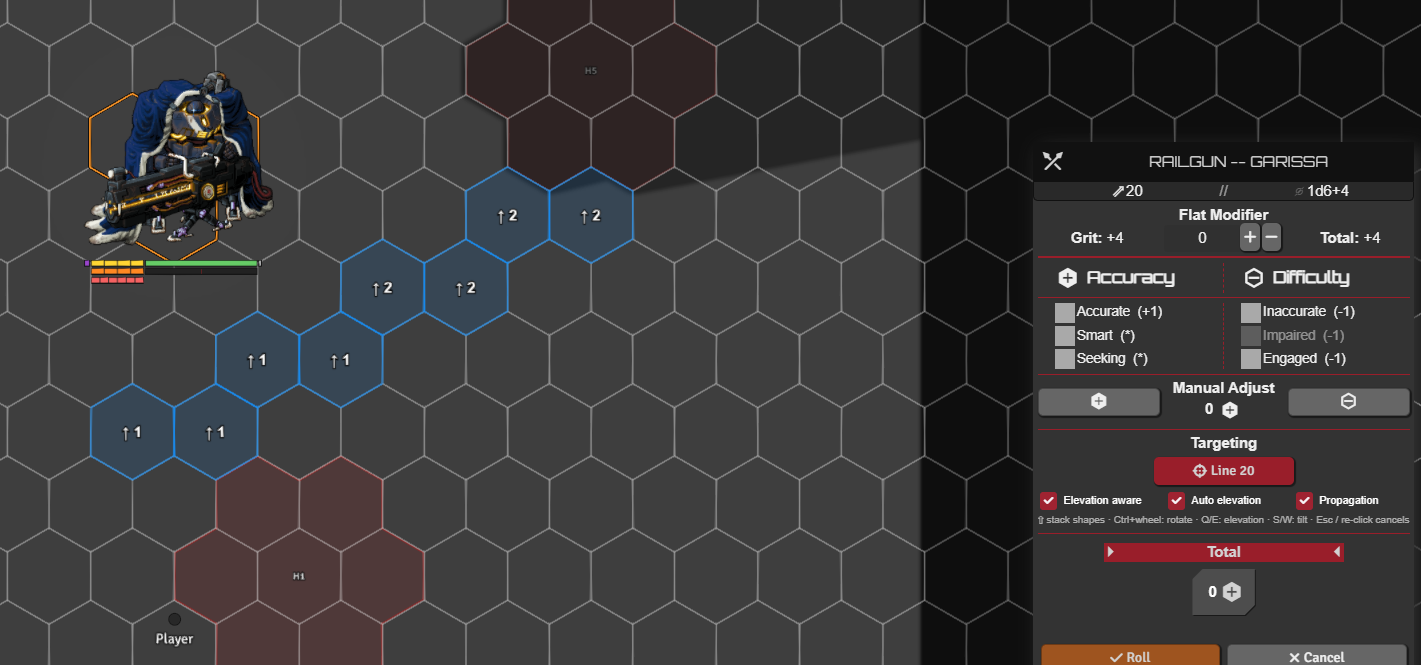
The toggle row controls the 3-D side. Elevation aware catches tokens by vertical overlap and lets tall terrain block the shape. Auto elevation sits the area on the Terrain Height Tools ground beneath it. Propagation floods the area out from its origin so it can't reach over terrain into a pocket behind. With all three off, the area is flat.
Keybinds
E / Q raise and lower the area's elevation, W / S tilt a line, and Z resets the elevation offset, rotation and tilt. Ctrl + wheel rotates a cone or line. The keys are rebindable under Configure Controls → Lancer Automations.
After the roll
Closing the HUD stops the picker and clears its shapes. Your targets stay on after the roll unless Clear Targets After Roll (clearTargetsAfterRoll) is on, which it is not by default. Your in-progress aiming can also be shown to other players, see Share Interactive Tools.
Advanced Measure tool
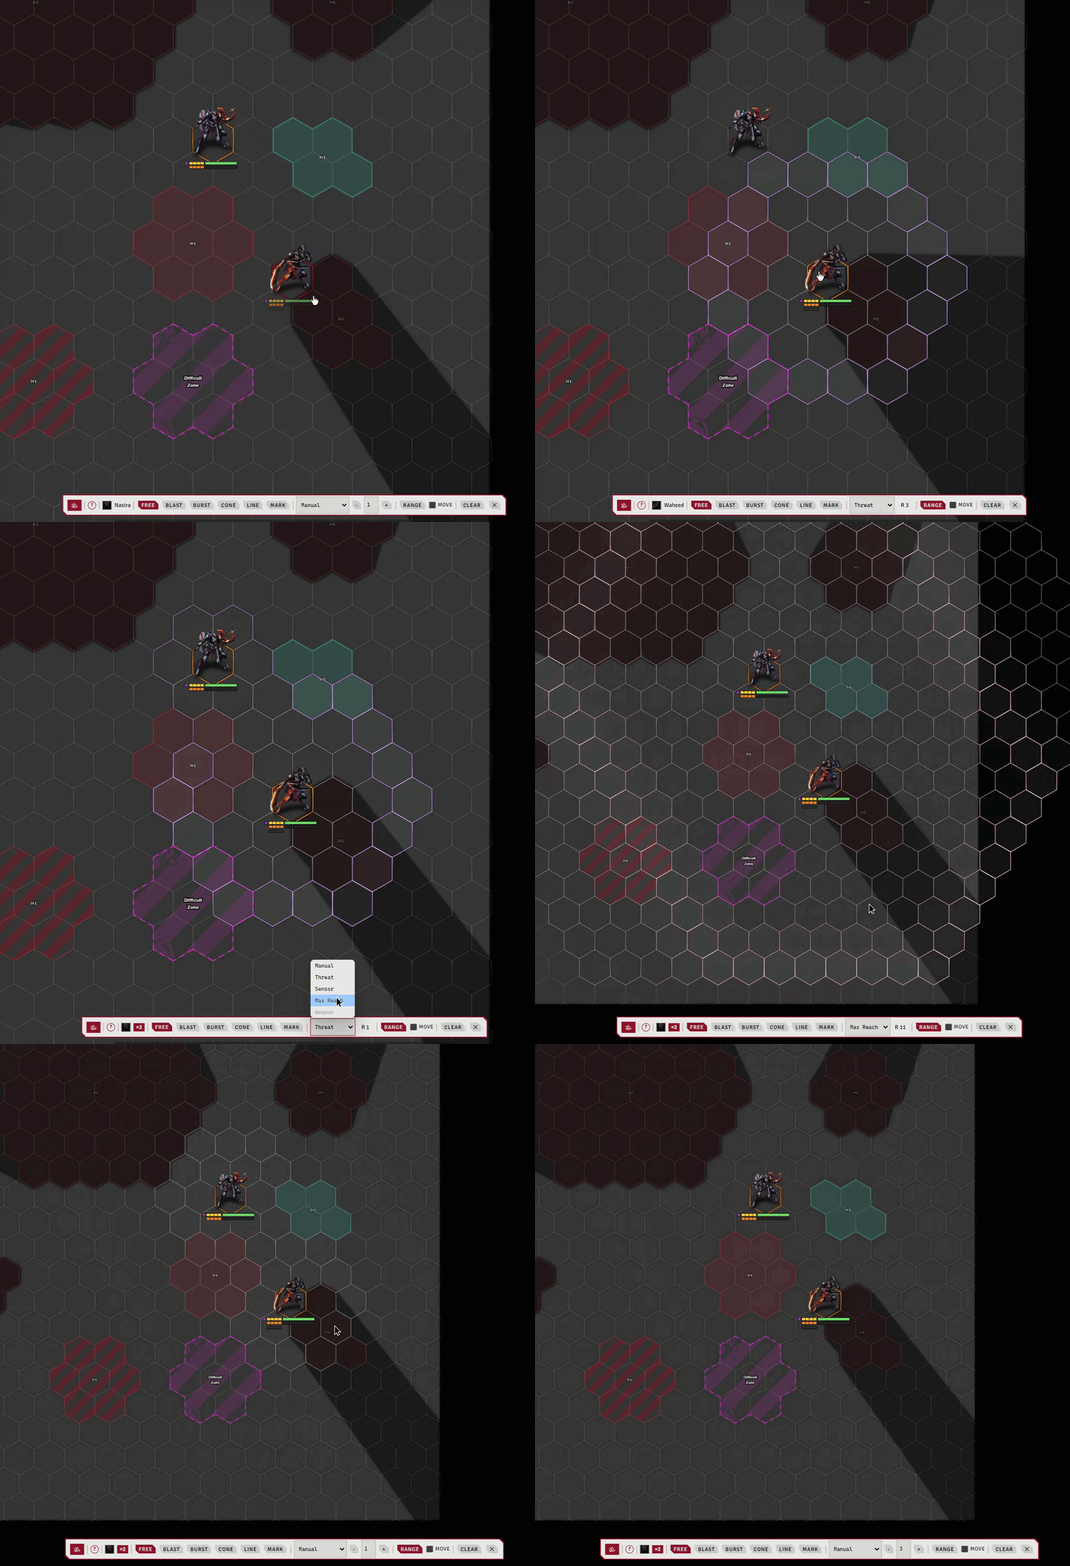
Press Shift+R to toggle a standalone measure toolbar, docked above the macro hotbar. It's per-client and works outside any attack or flow. On it:
- Blast / Burst / Cone / Line - arm a shape at a chosen size. Click to drop, click (or right-click) again to remove. With no shape armed you move and drag tokens as usual.
- Target (the reticle) - click a token to target it.
- the range source selector - Threat, Sensor, Max Reach, Weapon, Manual, or None, pulsing that range around the reference token. The reference is whatever you have selected. Range pulse LOS clips it, with an eye toggle on the manual radius.
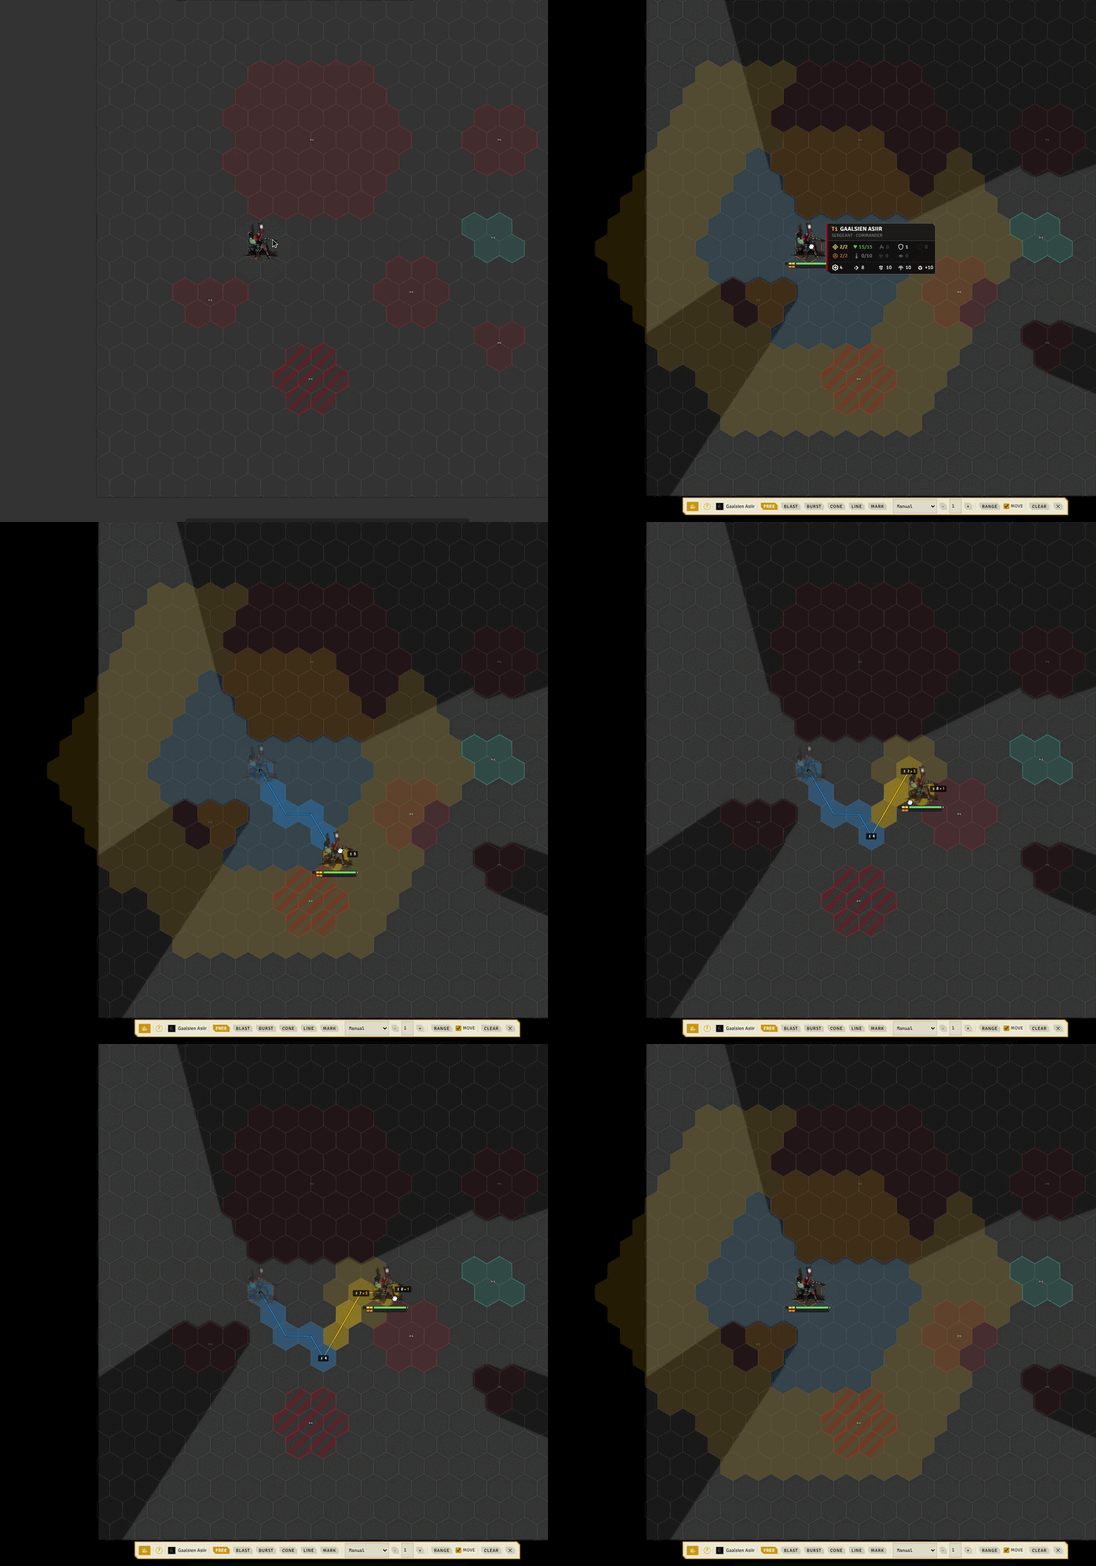
- Movement reach - the reference token's movement, in the ruler's speed tiers.
- Tactical distance labels - distances from the reference token.
- the eye - line of sight to your marks, or to your targets when nothing is marked. What the colors mean.
Shift+click marks a token (which targets it) or a hex (which sets the Manual range).
Clear wipes the current placements. The ✕ (or Shift+R again) closes the toolbar. Closing hides the marks and toolbar but keeps them, so reopening picks up where you left off.
Hover the ? for the full keybind list, including T to step through the range sources and G to clear everything.
Movement reach works for one token or a whole selection at once:
Notable options
| Option | What it does |
|---|---|
| HASE Chance Labels | Live success % over the roller during stat rolls, saves, and contests. |
| Range Preview on Attack/Damage HUD | Pulse the attacker's weapon/tech range on the canvas when an attack card prints. |